Saving rain one drop at a time.
Planting Schedules and the Best Ways to Prepare Your Soil for Spring Planting
Planting schedules based on your USDA growing zone and the best methods to prepare your soil for spring planting. Good soil health is key to growing strong, productive plants, and I’ll be sharing my favorite ways to build rich, fertile soil using natural methods.
Mary
2/16/20254 min read
Hi everyone, it’s Mary from Will’s Garden!
I hope you’ve all had a great week planning your gardens with companion planting! It’s been exciting seeing so many of you getting ready for a thriving 2025 growing season. Now that we have a solid plan for what we want to plant, let’s talk about when to plant and how to prepare our soil to ensure a strong, healthy start for our gardens.
This week, we’ll cover the importance of planting schedules based on your USDA growing zone and the best methods to prepare your soil for spring planting. Good soil health is key to growing strong, productive plants, and I’ll be sharing my favorite ways to build rich, fertile soil using natural methods.
Spring Soil Prep & Planting Quick-Start Checklist
✅ Check your planting zone and frost dates (Use the Old Farmer’s Almanac).
✅ Start seeds indoors for warm-weather crops (tomatoes, peppers, eggplants).
✅ Prepare garden beds by adding compost, manure, and organic matter.
✅ Lay down cardboard & wood chips to suppress weeds.
✅ Mulch perennials like garlic and asparagus for early growth.
✅ Test soil pH & nutrients before planting.
✅ Apply aged manure early to allow nutrients to seep into the soil before planting.
✅ Till soil or dig up garden beds before planting to mix in organic matter.
Step One: Understanding Your Planting Schedule
Knowing your USDA Plant Hardiness Zone is essential for planning your planting schedule. I live in Zone 6A, which means:
February & March: Start seeds indoors for warm-weather crops like tomatoes, peppers, eggplants, and some herbs.
April & Early May: Cold-hardy crops like lettuce, kale, peas, and spinach can be planted outdoors. However, since we can still get frost through mid-May, it’s best to cover young plants with row covers or cold frames.
Mid-May & Beyond: Once the last frost has passed, tender plants like tomatoes, cucumbers, squash, and beans can safely be transplanted outdoors.
For those in different zones, you can check your personalized planting calendar by entering your zip code at The Old Farmer’s Almanac. This tool helps you determine the best times to start seeds indoors and when to safely move them outdoors based on your local frost dates.
Step Two: Preparing Your Soil for Planting
A successful garden starts with healthy soil! Here’s how I prepare my soil each season using natural amendments and composting methods.
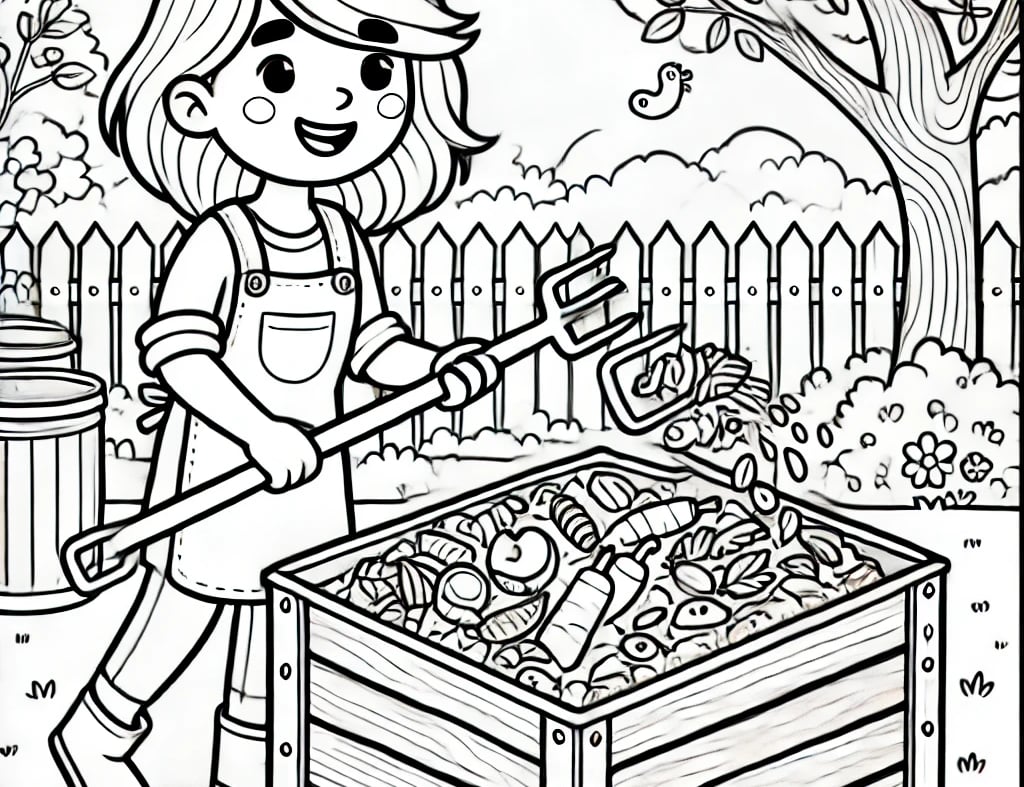
1. Build Nutrient-Rich Soil with Chicken Manure & Wood Chips
Since I have chickens, I make use of their manure and bedding (wood chips and straw) as a natural soil amendment. Each winter, I clean out my chicken coop and spread the aged manure and bedding over my future planting areas. This method: If you don't have chickens you can buy Chicken Manure
Adds organic matter that enriches the soil.
Feeds beneficial microbes and earthworms.
Helps retain moisture and improves soil structure.
By applying it early in winter, the manure has time to break down before spring planting, ensuring that nutrients are available to plants without being too strong or overwhelming.
If you can, spread manure over your garden beds early to allow nutrients to seep deep into the soil. Then, when you’re ready to plant, till or dig up the soil to mix everything in properly.
2. Weed Suppression with Cardboard & Wood Chips
If I’m prepping a new garden bed or an area that has a lot of weeds, I like to use the no-till method:
Lay down cardboard over the area to smother weeds and prevent them from growing back.
Cover with a thick layer of wood chips or straw, which helps with moisture retention and further suppresses weeds.
Let it sit for a few months. By the time spring comes, the area will be much easier to work with and weed-free!
This method works well for preparing new garden spaces without disturbing soil structure or harming beneficial organisms.
3. Mulching & Protecting Perennials
If you already have garlic, asparagus, or perennial herbs growing, winter care is key:
Mulch with straw or leaves to retain moisture and protect against cold snaps.
If possible, add a layer of compost or aged manure on top to feed the soil and encourage healthy spring growth.
Earthworms LOVE mulched areas, especially when manure is present, and they’ll help aerate and fertilize your soil naturally!
4. Test & Amend Your Soil
Before planting, it’s always a good idea to test your soil for pH levels and nutrient deficiencies. Simple at-home soil test kits can tell you if you need to:
Add compost for organic matter and microbes.
Incorporate bone Meal , blood Meal , or Fish emulsion to boost nitrogen, phosphorus, and potassium as needed.
A Personal Gardening Tip
I remember one year, I rushed my tomatoes outside too early because I was impatient. A surprise frost hit, and I lost half of them overnight! Now, I always keep an eye on the frost dates and use row covers for extra protection in spring. A little patience goes a long way when it comes to gardening! 🌱
Final Thoughts
Taking the time to understand your planting schedule and properly prepare your soil will set you up for a thriving, abundant garden. Whether you’re using natural compost, chicken manure, wood chips, or mulching techniques, every little effort helps create a fertile and sustainable growing environment.
Next week, we’ll discuss natural pest control methods to protect your garden without harmful chemicals!
As always, happy gardening, and let’s keep growing together!
Warmly,
Mary from Will’s Garden 🌿
Solutions
Collect rainwater efficiently with our innovative systems.
Sustainability
Quality
info@willsgarden.com
1-508-375-3600
© 2025 All rights reserved.